 Here for the giveaway? Check out the details below and don’t forget to sign up for the newsletter for a chance to win!
*Housekeeping: some links on this page are affiliate links, meaning that I get a tiny commission from purchases you make using them, but it doesn’t cost you anything extra! If I like them, you might too!*

Itch to Stitch Dana Point Top
It’s rare when I see a brand new pattern I have to get RIGHT AWAY. Even more rare that I have to pattern hack it immediately. But that’s the case with the Dana Point Top!
I first learned about the Dana Point Top (yes, named after the city in Orange County, California) from watching Katrina on Lifting Pins and Needles. I love her Youtube channel, she has a soothing and melodic voice. Katrina showed her beautiful version of the Dana Point Top and described how the lining was made by favoring the inside. If you don’t know what that is, watch her video! She does a great job explaining it.
Almost immediately after watching the video I bought the pattern on sale (all ITS patterns are discounted in the week they are released). It’s an easy pattern with only TWO pieces! And the cup sizes are built right in, so no futzing with an FBA!
Truthfully, the Dana Point Top has the exact kind of feminine details I like in blouses and tops so it was destined to be mine. The shoulders and waist sport 3 pleats each on each side that create soft gathers, while the back also has waist pleats, perfectly hugging the figure in the most flattering way.
I’ve reviewed the Itch to Stitch PDFs before, and this was is just as excellent. The pattern is only 2 pieces, a front and a back, and you create the lining out of each. Easy peasy!
Well, so I thought.
I used this crappy remnant as muslin fabric and didn’t take the time to stiffen its shifty way.
View this post on Instagram
I didn’t plan a lining because it was only a test piece and frankly didn’t have enough fabric. But after sewing the EIGHTEEN pleats (or tucks?), I knew there was no way I was going to do that TWICE. See, the lining requires all the same precise pleating. Didn’t matter that I had a nice stable seersucker and not a shifty rayon to make it in next time, I simply don’t have that kind of patience!
Don’t get me wrong, the pleats create an absolutely beautiful vintage silhouette. El Husbando especially appreciates the bust enhancing effects. And the perceived cinching at the waist results in yet another figure enhancement. It’s gorgeous! Exactly what I needed. But I knew I could cut a corner or two and still have a nice blouse.
And so, we hack!
One of the two ways I hacked was to create a front and neck facing, and finish the armholes with bias binding. Now that I can actually sew on facings without distorting them, I actually like this finishing technique! If you want to do the same, here’s how!
*Note this tutorial is for a confident beginner to intermediate sewist.
How to Hack the Dana Point Top: Adding a Front and Neck Facing
Materials (in addition to what the pattern calls for)
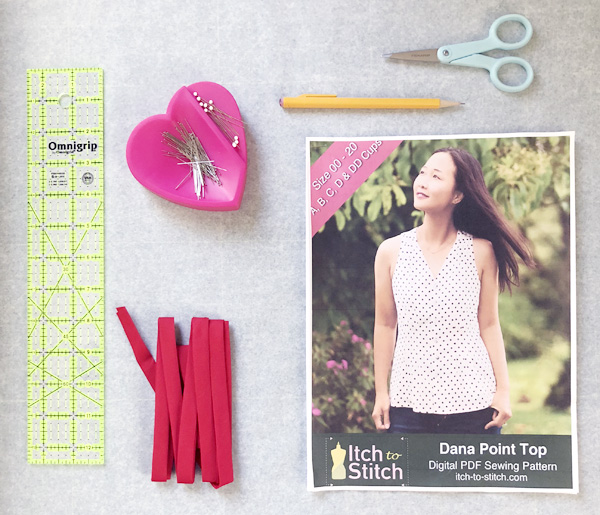
- Dana Point Top pattern
- Tracing paper
- Pencil
- Ruler
- Double fold bias binding (store bought is fine!)
Instructions
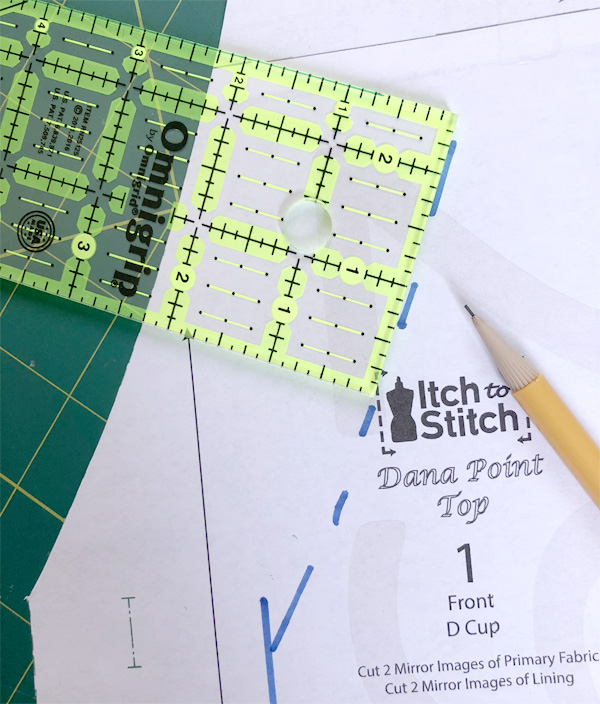
- To start, you will need to print out and tape together the front and back in your size. ITS patterns include cup sizes, so there’s no need for the dreaded full bust adjustment! However, if you have any other adjustments to make (such as shortening or lengthening), do them first.
- The seam allowance along the center front and neckline is 1/2″ (Ed. note: it’s actually 5/8″ but it works just fine with 1/2″!). To ensure the buttons are centered along the facing, measure in 2.25″ along the entirety of center front and around the entire neckline. This allows 1/2″ seam allowance on both sides of the band and 1″ for the centered buttons (plus a little extra for a finished edge).
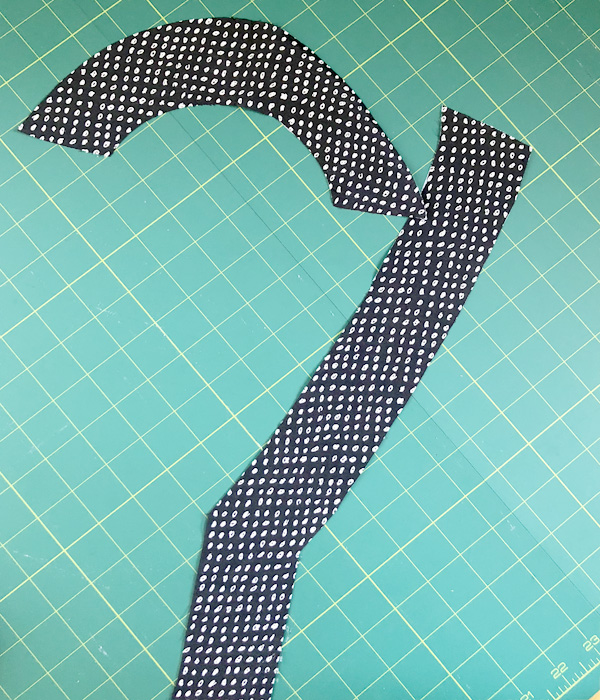
- At this point you should have a front Y-shaped facing drawn out, and a back semi-circle facing. Trace these markings onto a new piece of paper (I used tracing paper) and make sure to include the button marks. Also ensure you follow the original grainlines!
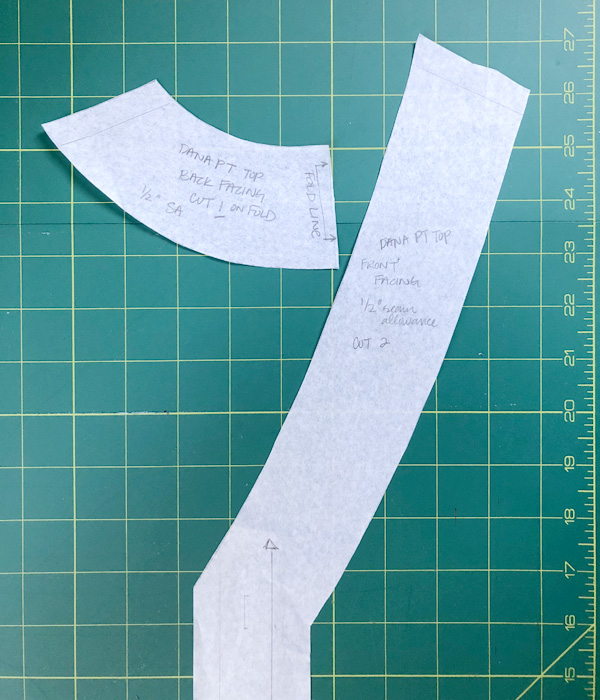
- Using your two new pattern pieces, cut out 2 mirror images of the Y-shape front and 1 of the back on the fold (only 1 front piece show below).
Stay stitch the interior curves of each one (to be safe, I stay stitched both sides after I interfaced).
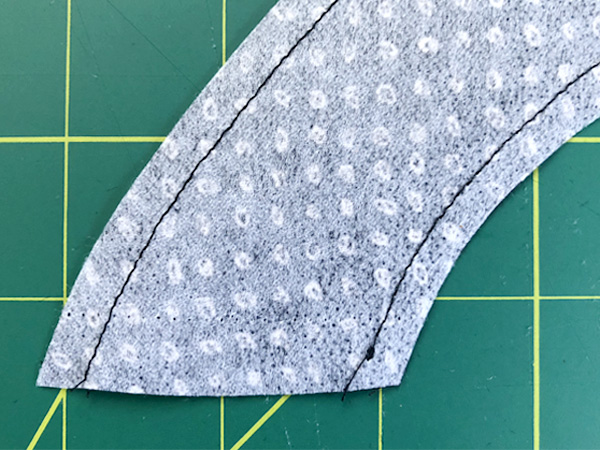
- Interface each piece and then stitch together at the shoulders and press the seam open. Finish the edges in your preferred manner (I used pinking shears). Your finished product should mimic the center front and neckline of your original top.
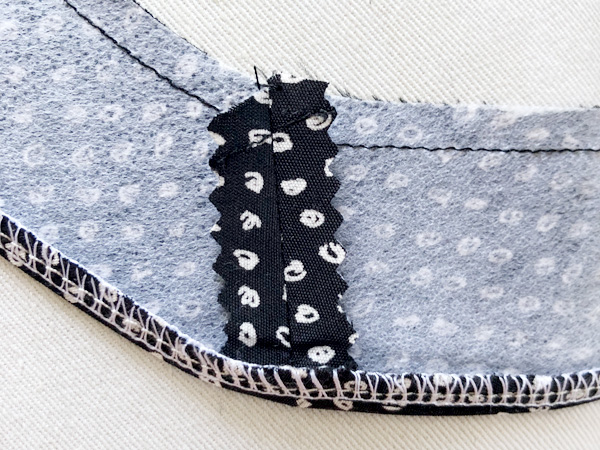
- I like to serge finish the exterior/non-attached side of the facing so it doesn’t unravel. I then fold it over once for a completely clean finish inside. (This is also why I added an extra quarter-inch to the facing originally, so the inside facing still appears to have the buttons directly down the middle. I like symmetry!)
- Optional step: if you add labels to your clothes, now is a good time to sew it on to the back neck facing, before you attach it to the bodice.
- Create your Dana Point Top per the instructions, ignoring all the steps for a the lining. Staystich the curves, and stitch the pin tucks, shoulders, and side seams, finishing the seams in your desired manner.
- Attach your facing right sides together to the center front and along the neckline, matching the shoulder seams. Sew at 1/2″ seam allowance.
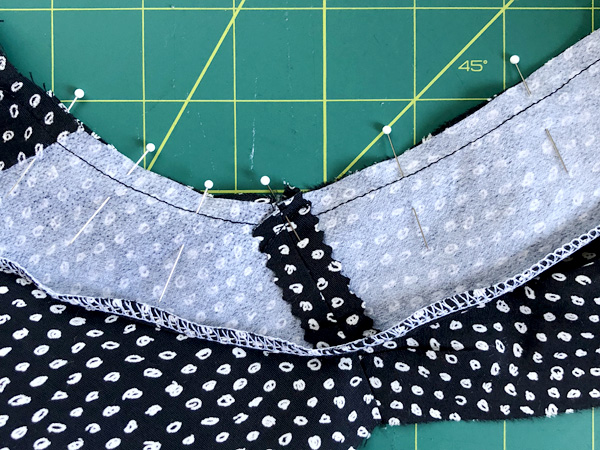
Understitch the seams to the facing, grade the seams, snip the corners to get a clean corner, and press to the inside so the facing rolls away from the seam. This will keep it from peeking out.

- Tack the facing down at the shoulder seams. Sew your button holes and hem as instructed.
- To finish the armholes, steam the bias binding into the circular shape.
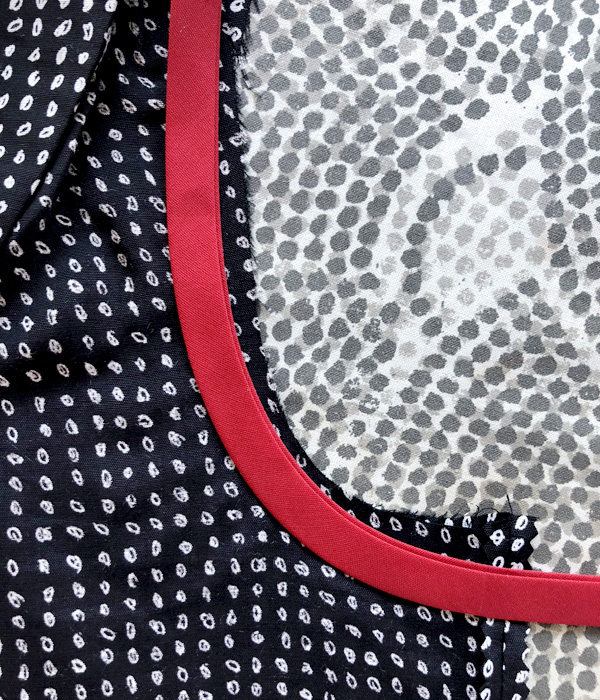 Attach right sides together and stitch along the fold line.
 Press up and away from the seam, then fold to the inside. Topstitch around armhole starting and ending at the side seam to hide the back tack.

- Give everything a final press and wear your hacked top!
View this post on Instagram
Now you might ask if this actually saved me any time. The truth is, between all the calculations, probably not! But I really liked the shifty fabric I was using and wanted to make it a wearable muslin. So, as they say, necessity is the mother of invention and I invented myself a facing so I could wear what I made.
A pattern hack into a wearable muslin? Yes please!
Still looking to win a copy of this or ANY Itch to Stitch Pattern? Kennis has graciously offered to giveaway a pattern of YOUR choice! That’s ANYTHING. Like the Dana Point top from above or ANYTHING ELSE. Don’t forget to also grab the Lindy Petal skirt, which is free!
![]() Did you know that Itch to Stitch also just celebrated a milestone? The company just hit their 4th year! Congrats to ITS and we’re so glad you’re onboard to sponsor Petite Font, too!
Did you know that Itch to Stitch also just celebrated a milestone? The company just hit their 4th year! Congrats to ITS and we’re so glad you’re onboard to sponsor Petite Font, too!
How do you win?
Simply sign up for the mailing list! One random winner will be chosen at noon PDT tomorrow. Need to know your time zone as it relates to Pacific Daylight Time? Check out the online Time Zone Converter.
The sooner you join the mailing list, the more opportunity you will have to win because there is still ONE more prize to come AFTER this one! However, each reader may only win once. The final drawing will take place on Wednesday, October 31 at noon PDT. All winners will be notified by email and also announced on the Petite Font Facebook page and Instagram post.
Join or follow to see if you win!
The legal stuff:
No purchase is necessary to enter. Giveaway is open worldwide except where prohibited by law. Must be 18 to enter. Odds of winning are dependent on number of entries. One winner will be chosen randomly at noon PDT the day after a blog prize is published. Giveaway ends on October 31, 2018. Winners will be notified by email and winners’ names will be posted on Facebook and Instagram. Please be aware of time constraints on certain prizes to ensure timely redemption. Prizes will be awarded in the order listed. Prizes are all digital and will be distributed by email. Please direct questions to [email protected]. Giveaway is in no way sponsored, endorsed, administered by or associated with Facebook or Instagram, or any other platform used to promote this giveaway.
The value of each prize is as follows:
- $15 digital store credit to Wardrobe by Me pattern store (expires Oct 31, 2018) = $15 USD
- 1 digital PDF copy of the True Bias Lander shorts & pants pattern = $14 USD
- 1 digital PDF copy of the The Wearable Studio Franki top pattern = $14 AUD
- 1 digital PDF copy of any Itch to Stitch pattern = $0-15 USD
- 1 digital credit provided by Petite Font to the MyBodyModel custom croquis web app = $20 USD
Where is the newsletter signup?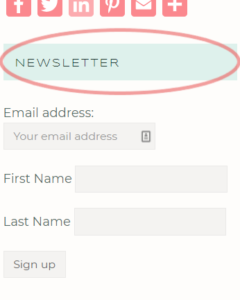

If you dismissed the pop-up window, don’t worry! You can sign-up from two places: either here or the sidebar.
Need help finding it?
On the desktop site, it’s at the bottom of the sidebar on the right (under the social media share buttons). You might need to scroll up a little from here.
On mobile, it’ll be near the bottom of the page (just above the Instagram gallery in the footer).
Ready?


Hi there! This is my first comment here so I just wanted to give a quick shout out and say I genuinely enjoy reading your blog posts.
Can you recommend any other blogs/websites/forums that
cover the same subjects? Thanks a lot!
Hi, and thanks for reading! If you’re looking for more maker blogs, I can recommend a few! This is just a tiny scope of all the blogs I follow.
– Maddie Made This (https://www.maddiemadethis.com/)
– Lucky Lucille (https://luckylucille.com/)
– Cookin & Craftin (http://cookinandcraftin.blogspot.com/)
– TomKat Stitchery (http://www.tomkatstitchery.com/)
– Sew Altered Style (http://www.sewalteredstyle.com/)
You should also check out PatternReview.com for a sewing forum. If you like fiber arts, Ravelry is great for knitters and crocheters. And finally, Facebook groups are a great place to find a forum for just about ANY topic!