Who’s ready to go on some wacky capers?!
When I finally put on this cape to show it off to him, my husband called me a cape-ist. I said we should go on capers.
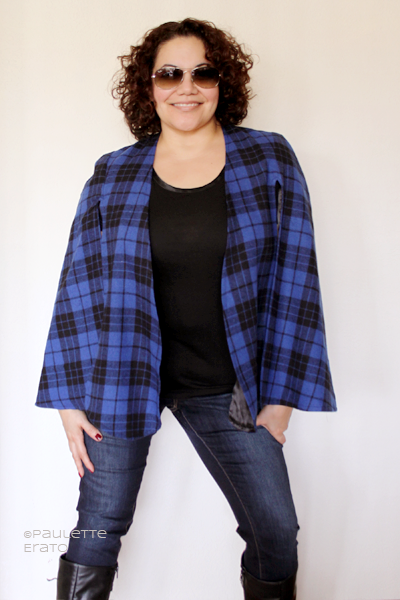
This make is the cape from New Look 6479 View C. It was originally just supposed to just be a muslin because a) the fabric is blue (ick), and b) it was free!
The fabric was a gift from a fellow sewing enthusiast and it’s clearly wool, but very thin and did shrink a tad when washed (it pressed like a dream though). It’s also scratchy as hell, but like one of the upper circles of hell not the really horrible lower levels where murderers and loud talkers go.
Even though it was a muslin project, 2018 is about refining my sewing and using techniques that are new to me, so I took the opportunity to try pattern matching. Luckily the fabric is a near-perfect 5″ square repeat, so I didn’t have to waste a lot of fabric trying to do this. I had 5 yards of it, but also wanted it to muslin two other projects (and still have 1.5 yards left!). Also the front and back are indistinguishable, so one less thing to worry about.
Most pattern matching tutorials suggest lining up armscyes and other reference points. Because almost all of my pieces were curved, that meant finding a point and matching it 360 degrees. My janky pattern matching technique was to lay the first piece on the grain (I randomly started with the side front), and note where the notches where. Then I laid the adjacent piece next to it and tried to line up as much of the straight parts as possible.
I cut everything on a single layer, but because of the aforementioned repeat, it was very easy to cut the second piece for everything. I simply had to line up the grid. As soon as the cut piece became invisible on the fabric, I knew it was lined up properly:
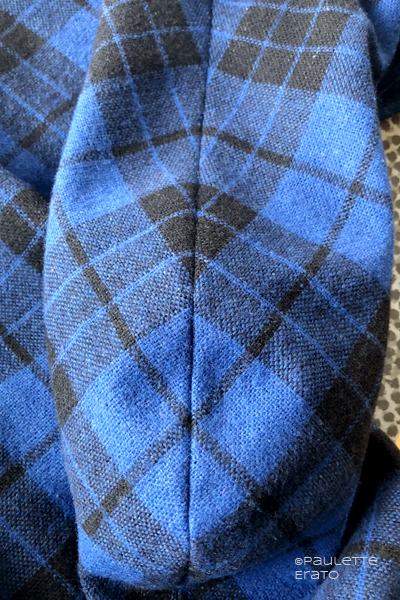
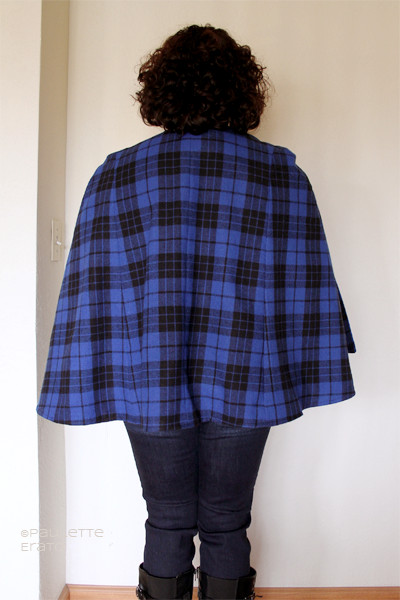
The result was pretty damn good pattern matching across almost ALL the seams. I was pretty proud of myself!
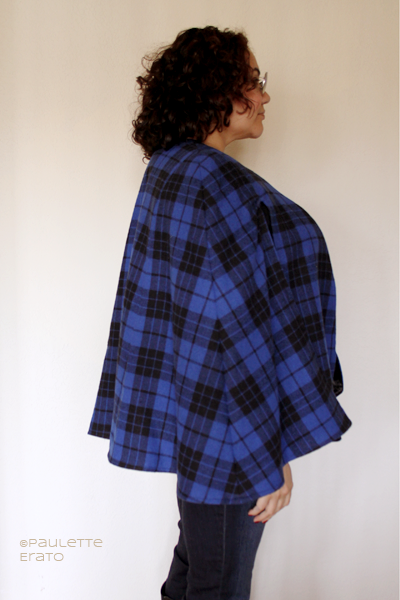
The back (I added a back seam in case I needed to do a high round back adjustment) and two back side panels:

As a cheater full bust adjustment, I lengthened the front panel about 2.5″ (which is what my normal FBA usually produces) and blended it back up the original hem line of the side panel. This was probably wholly unnecessary but it was supposed to be a muslin so I figured I’d try it just in case.
When it came together so beautifully despite the awful color and hand (aka, the scratchiness), I decided to dive into my stash for a suitable lining. I found a black taffeta buried somewhere deep. It’s a terrible fabric, but I only paid $1.50 per yard for it. I don’t even remember why I bought it…but anyway, it’s what I had on hand and it served its purpose.
But of course not without headaches. Shifty fabrics are the worse. This moved off grain whenever I turned my back, looked at it, or took a breath. It is from a lower level of hell, clearly. I opted to chalk the pattern onto the fabric, again in a single layer, and cut as slowly as possible.
The plaid wool didn’t fray very much but the cheap taffeta did, like crazy. I sewed it up as quickly as possible, attached it, and then had a devil of a time trying to figure out how to understitch it. I had left one panel of the hem open but that wasn’t nearly enough space to get around the perimeter, so I skipped understitching.
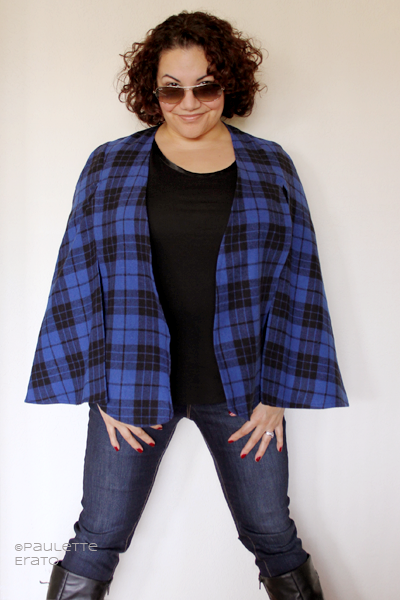
Once turned right side out, I pressed all the way around to ensure the lining didn’t roll to the front. The only really tricky spots were the points where the front and front side panels separate. It was awkward trying to line up the seams when attaching the lining, so it looks inelegant on the right side, which is right smack in front. But for a garment that was supposed to be a mere test piece, that’s all right.
And now I have a cape! Like a superhero! I’m going on capers! Wacky ones!
I don’t even know what a caper is (other than the delicious briny addition to my Saturday morning bagel), but I’m pretty sure it’s right up there with shenanigans, which I always enjoy. All bad ass capists wear sunglasses though. I’m sure of this.
I think I want to add a clasp to the front, to ensure it doesn’t slip off. What do you think?
 |
| Look at that pattern matching down the seam! |
This is my entry for #week1challenge over on the 52 Weeks of Sewing Facebook group.
Pattern Recap:
Pattern: New Look 6479 View C
Size: Size 16
Modifications: 2.5″ added to front panel, blended to original hem at side front panel, added a back seam
Notes for next time: pay closer attention to the join between the fabric and lining at the arm slit, probably needs a high round back adjustment, judging from that back picture