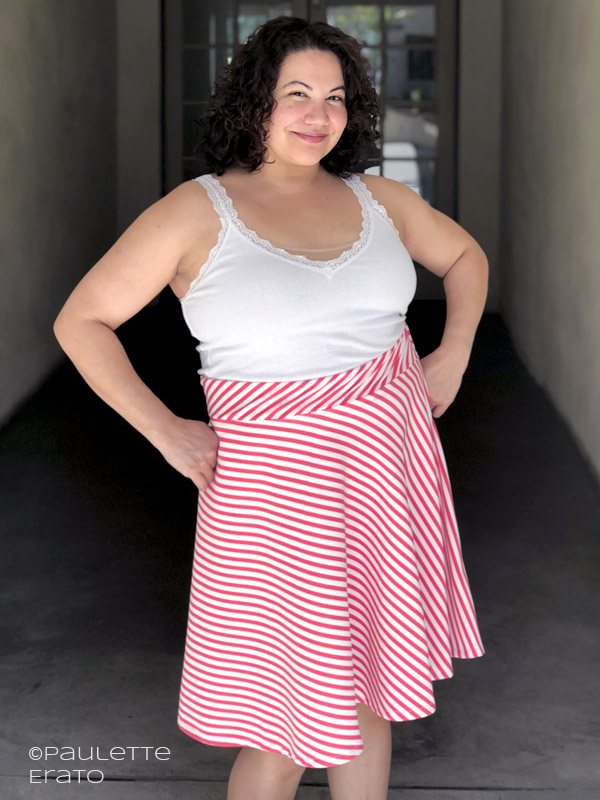
Do you like time travel? Well, today we’re going back in time to the very first garment I ever made.
The time was June 2016, I had just gotten a cheap Brother machine and I was so excited to make myself a circle skirt. I had devoured hours of YouTube videos from Made to Sew and the Great British Sewing Bee and I couldn’t wait to get to sit in front of my machine!
I had dragged my husband to the Michael Levine Loft store, where fabric is sold by the pound, and picked up (among other things) much, much, much yardage of a slippery red and white striped material. I couldn’t have identified the fabric at the time, but I can now safely say it’s polyester (it always is…).
Obviously this was loooooooooong before I figured out that a) I’m short-waisted, and b) that I get to decide where my “waist” is with skirts. I measured around where I thought my waist was, and then added an inch just in case I had the wrong measurements (better too large than too small, right?). So using the By Hand London calculator, I entered my measurements plus what length would be and got to it. I decided on a half-circle because of the width of my fabric and using a fabric marker, I marked the semi circles on the fabric and cut away.
I intended to put an elastic waist in a waistband, and was completely convinced I would have to cut the waistband on the bias. I didn’t, and then panicked, so I cut it again. And then again because it wasn’t long enough the first time.
It’s a good thing I bought all that yardage!
Well. The skirt ended up being a bit too large. That extra inch in a slippery fabric meant it likes to shift around. Being a semi-circle means that doesn’t actually matter too much, but I like to keep the seam on the left side and it doesn’t like to stay there.
Aside from the debacle of cutting the waistband, I struggled to attach it too. All the tutorials I found online were just for your typical waistband, not an elastic channel (I clearly didn’t know the correct search terms). I’ve since learned there are several ways to do this, the easiest being that you sew the waistband on completely except for a 2” gap through which you can then feed the elastic, and then sew the elastic together and close the channel. I don’t think that’s what I did though because the stitching on the closure looks…strange. I think I sewed the elastic to both ends of the waistband and then attached the whole thing.
Thankfully that’s on the inside! And oh look, I didn’t even know enough to finish the seams!
I followed directions that called for hanging it for a day or two so the bias (whatever that was) would fall before hemming. But after 2 days, I didn’t really see any uneven parts, so I didn’t cut anything off.
For hemming, I had found a suggestion to use bias binding on a circular hem. That solidified bias binding as my favorite method for everything thereafter. It was so easy!
I finally got to wear my skirt to lunch with my mom. I was SO PROUD of myself. And then I showed her how I hemmed it and she was very impressed. It was such a great feeling to make a garment from start to finish, with my own hands!
Unfortunately, these days not every project finishes with that same sense of elation. These days I’m more likely to end in frustration because something isn’t quite “perfect.” And that’s just dumb! It’s nice to travel back down memory lane to a time before I didn’t know what I didn’t know, and just being done was a huge accomplishment. Writing this has reminded me of those early days, and the joy that was always associated with sewing.
I’m glad to have it back!
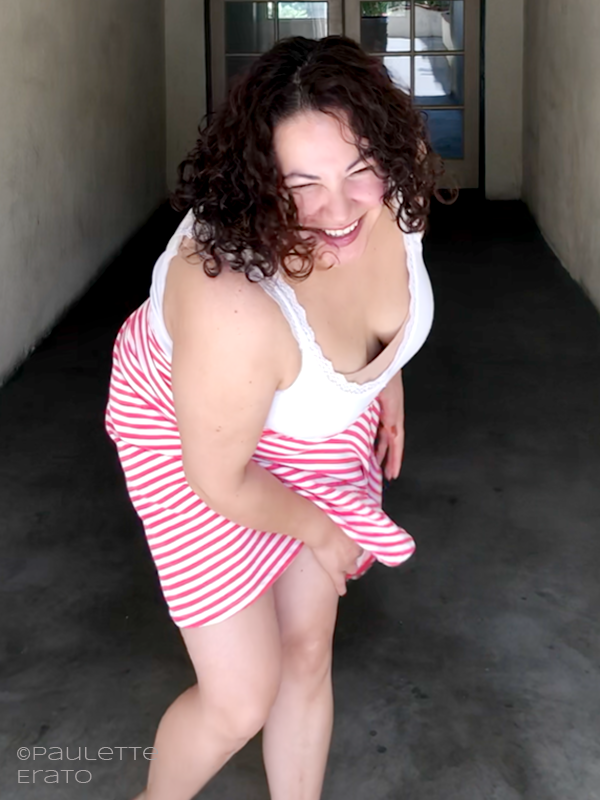
Here I am enjoying a good twirl in it this morning. Pure happiness!


