Today is the release of the new Sinclair Patterns pattern for men, the Oliver hoodie and polo shirt.
*Housekeeping: some links on this page are affiliate links, meaning that I get a tiny commission from purchases you make using them, but it doesn’t cost you anything extra! If I like them, you might too! Additionally, I received this pattern for free as a member of the pattern testing team, but all opinions are my own. For more info, please see the Disclosure Policy.*
The Oliver hoodie and polo shirt comes in both a collared polo shirt (with 3 sleeve lengths) and a hoodie version.
I don’t test a lot of patterns because I don’t actually like sewing on a deadline. I sew for the betterment of my mental health and because I like to create things with my own two hands. But doing that as a(n unpaid) job takes a lot of the fun out of it.
I’m not a bad pattern tester though. If I commit, then I follow through. And so when the opportunity came to test a new men’s pattern, I was excited.
I really enjoy making clothes for El Hubo, and there are so few patterns for men outside of your typical tee and button-ups. Which is great and all, but every company has one and I’m not going to buy more than the one each that I already have.
I gave Ryan the option of which one he wanted. He chose the hoodie with long sleeves because it has been cooooooooooold this So Cal winter. And off we went.
Pattern Description
From the website:
Featuring: semi fitted at the chest, waist and at the seat finished with a split bottom hem. Mid hip length. Neckline finished with a simple collar (knit of woven) or with a simple lined hood. Sleeves are offered with cropped, short and long option. Cropped and short sleeves are finished with a band. Full long semi fitted sleeves finished with cuffs. Classic polo shirt for any occasion.
Size Chart
Like the rest of SP’s patterns, this one comes in 3 torso lengths: short, regular, and tall.
XS-XXL (US34-US52)
SHORT 163-170 cm /5’4” – 5’7”
REG 173-180 cm / 5’8” – 5’11”
TALL 183-190 cm / 6’-6’3”
Ryan’s measurements put him squarely in the US44 Regular column.
Fabric
The recommended fabric is light to medium weight knits with 20-30% stretch. These can include medium cotton interlock, French terry, stable sweater knits. I made him both a cotton interlock version (though that was before the pattern updated, so it’s more of a muslin) and a medium French terry version in a heathered grey that he chose.
I also added black tubular rib knit for the cuffs. I like the contrast.
The placket is recommended to be made in either woven or low-stretch fabric. I still had superhero cotton print that I’d originally used to make bowties for the little kids in our wedding. So when I showed it to Ryan, he was all over it.
This will take 2 full yards for the long sleeved version, especially if you line the hood. That means you’ll need 4 hood pieces!
PDF Criteria
Here is how the PDF stacks up
- Layered sizes: yes
- Colored lines by size: yes
- No trim pattern: yes
- Prints to edge of paper: yes
- Print layout included: no
- A0 available: yes
I’m going to be very honest and say I do not love Sinclair Pattern PDFs. You might wonder why since they basically hit my holy trinity of PDF preferences: trimless, layered sizes in different colors, that print past the line so overlapping pages is SO MUCH EASIER.
Well, there’s no pattern layout. As a tester, I brought up this missing detail, but I’m just one person.
There is a grid on each page that functions as a page number with the benefit of positioning. But that’s not the same as a layout page. And when a pattern has large pieces like a hood—which you may not want to print if you’re making a collared version—that’s a sad waste of paper and ink. Which isn’t cheap!
The full PDF is 32 pages.
Pattern Instructions
I learned through testing that the instructions are not meant to be printed! That’s why the font is so small. Well, I don’t like to read directions on my computer screen, so I print mine out. Especially during tests, I like to write notes on the directions in case I have questions or notice an error.
The instructions are otherwise quite thorough with photograph illustrations of each step. The placket insertion happens very early on, which means the hard part ifs out of the way!
Here’s a tip! The collar/hood instructions can seem a little challenging at first because you might want your collar to go up to the very edge of the placket like on a typical men’s shirt. However, if you look at any other polo shirt, you’ll see that the collars start and stop at the midpoint of the placket, directly above the buttons. This is so that if the shirt is buttoned up, the collar doesn’t overlap.
Pattern Notions
Aside from your fabric, you’ll need buttons or snaps for the front placket. To cover the collar/hood seam, use either bias or twill tape. You’ll also want to use something for a drawstring (if you make the hoodie version). I bought a cotton cord for this. And if you don’t want to make buttonholes, get yourself some grommets, snaps, and pliers!
Pattern Adjustments
My husband is SO MUCH EASIER than me to sew for in terms of adjustments. He rarely needs any!
Of course, since this was a test, I didn’t hack it in any way. But if I were to make it for him again, I would add a hem band for a simpler finish.
Final Thoughts
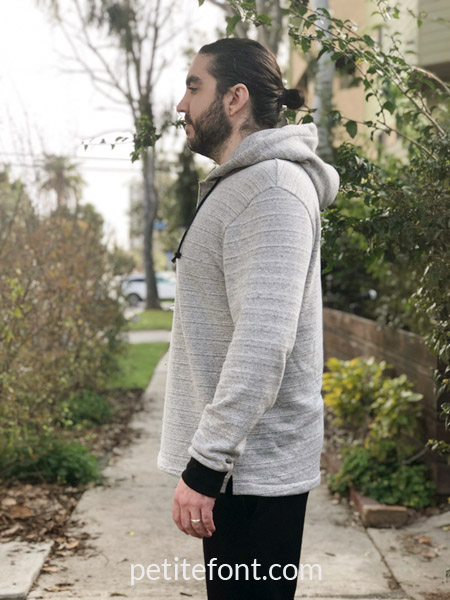
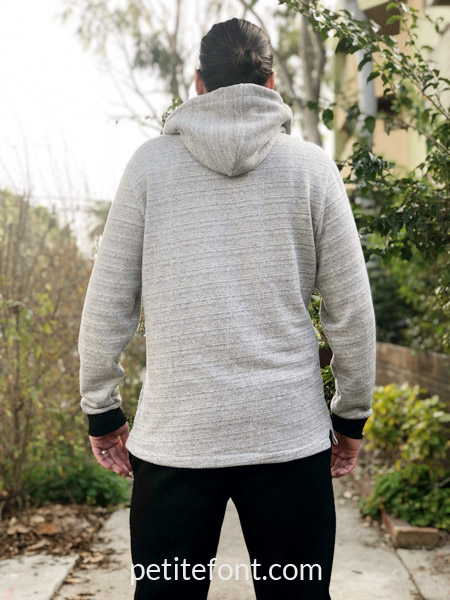
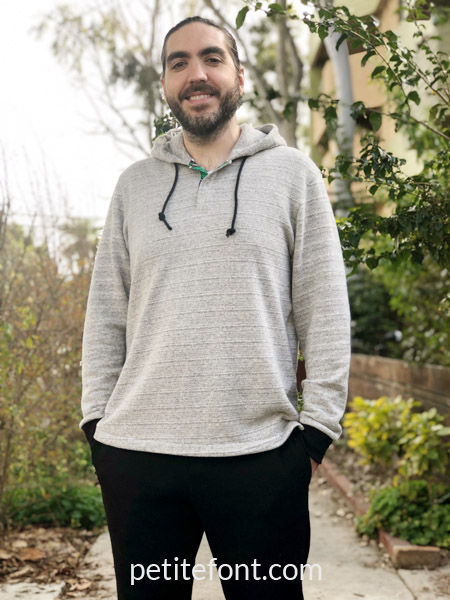 The proof is in the pudding, and Ryan loves his hoodie.
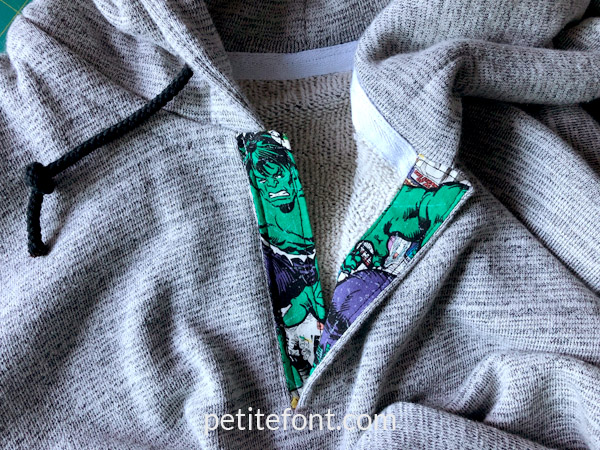
I centered the Incredible Hulk on this placket. He asked for Thor on the interlock version. Men *smh*…
The Oliver is a step up from a typical hoodie. Adding a button placket is also a skill enhancement if you’ve never done it before. But this pattern is well-suited for an advanced beginner who is comfortable working with knits.
And for this week only, you can get the pattern for a discounted 10% off. Let me know down in the comments who you might make your Oliver hoodie (or polo?) for, and what fabric do you plan to use?
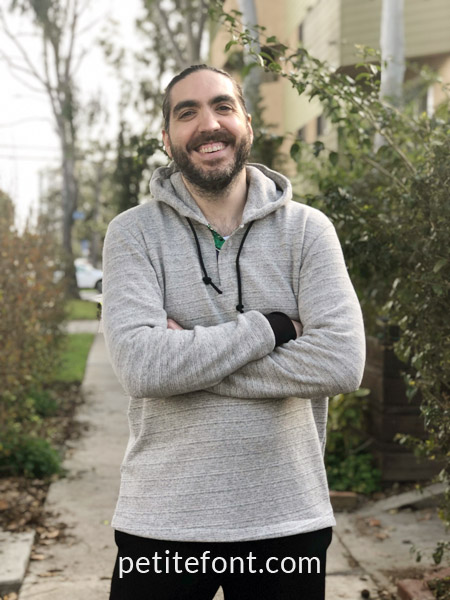



[…] test for Ryan…that he now also lives in. Honestly, this man’s uniform is one of the two Oliver hoodies and one of the three Simplicity joggers above. I could have taken this picture yesterday and not […]