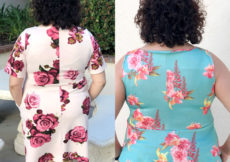
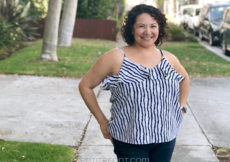
(Let’s talk about crotches, baby!)
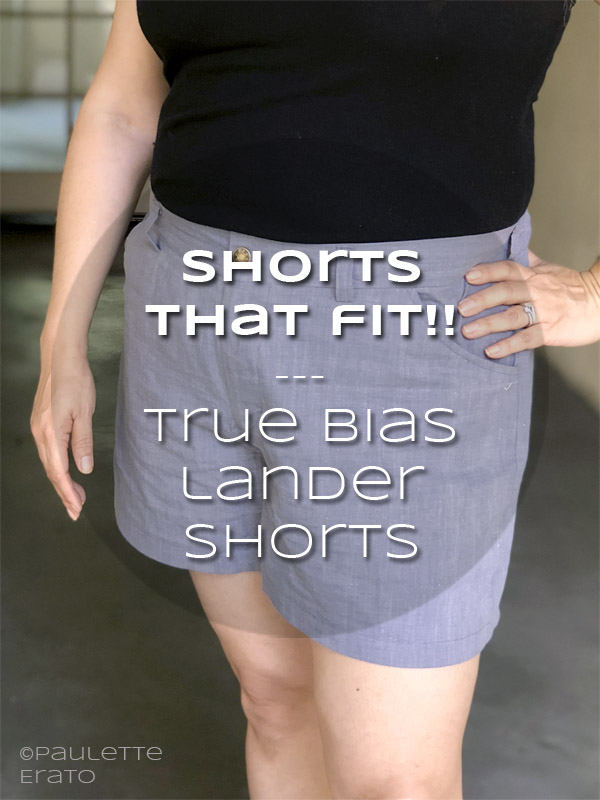
I feel like I should title this FITTING! THE! SHORTS!!! This has been the ultimate journey, and yet I know full well we are just at the beginning of fitting actual pants. But for the moment, I really want to revel in the feeling of having decent fitting shorts.
The Lander shorts took 2 muslins, 2 fully made garments, and this journey began all the way back in July. Two whole months toiling over crotch fit, which is super fun when you have both a junk in the truck AND hood AND you’re also short in the pelvis.
I got the crotch curve right after the first muslin, though the waistband was still too big so I followed Lladybird’s hack for adding elastic after the fact and they’re passable.
View this post on Instagram
I really love the color of that first pair so I just kind of grin and bear it. Though those pretty buttons keep popping off no matter how many times I sew the damn things back on…
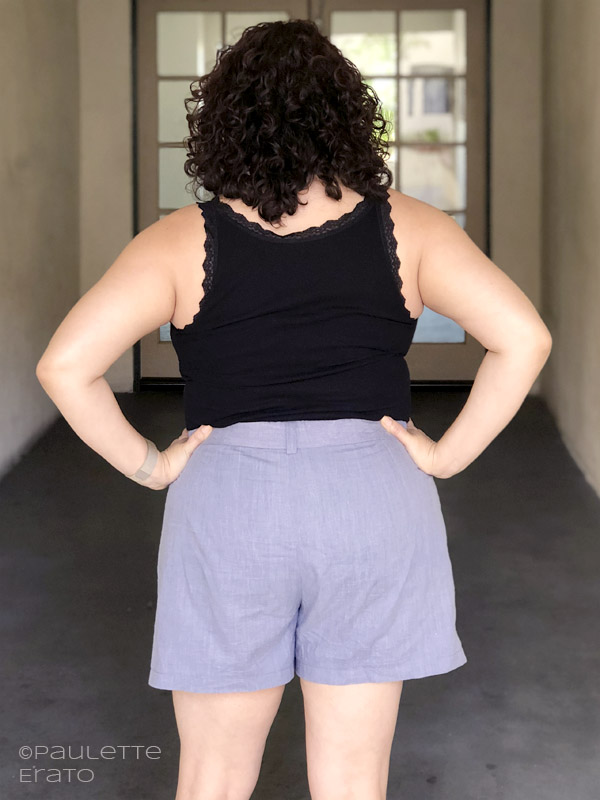
Still, the rise was still too high on both the front and back. I finally made a second muslin where I dropped the waist to the corresponding area, blended together at the side seam. AND IT WORKED!
HAPPY DANCES!!
This time I decided to make the zipper version because of the aforementioned button fiasco. Let me pause here so I can sing the m’f’g praises of Kelli’s instructions. I had inserted a zipper in a different pair of pants and the instructions for those were kind of baffling. When I compared Kelli’s way of doing it to theirs, which by the way also includes 4 extra steps and illustrations for this seemingly complicated procedure, I was blown away. I know not everyone needs their hand held through a zipper insertion, but I do, thank you very much. And Kelli delivered!
Someone on Instagram asked me if the additional zipper expansion pack was worth buying. I wholeheartedly screamed YES! Not only do you have a few changes to the front opening and waistband, the instructions alone are worth the extra $6. Do it. You will NOT regret it.
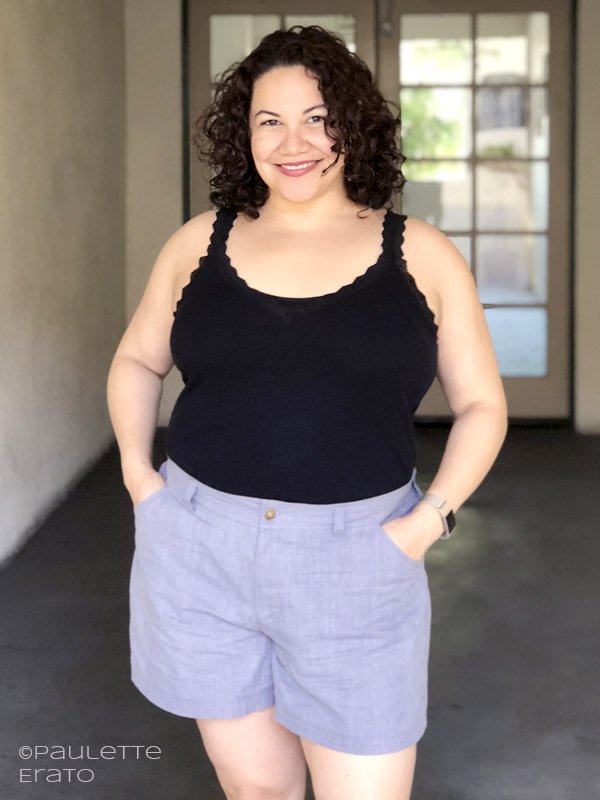
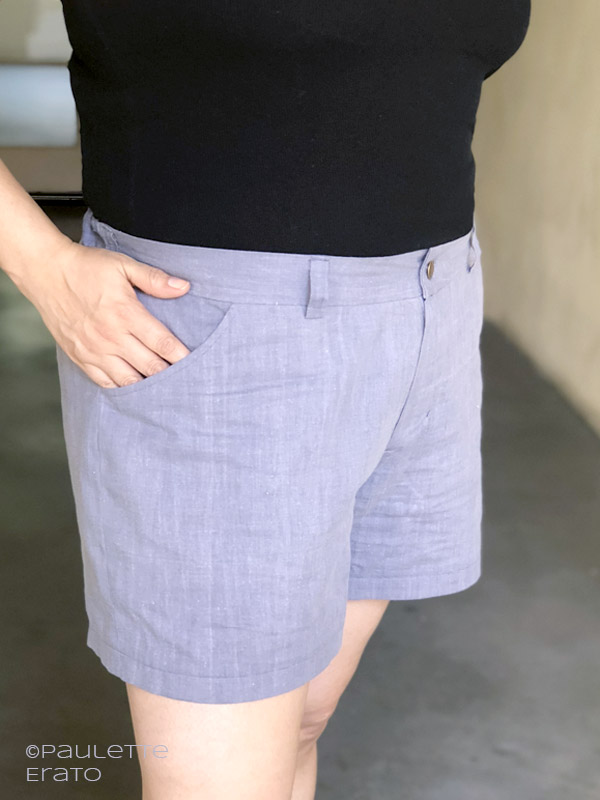
So back to this version of the shorts. Zippered, pockets on the inside, and lowered rises. Once again I added an inch to the inseam, and needed to add the elastic to the back waist, but I actually kind of like that look. It’s comfortable, and not immediately obvious that they have an elastic waist while I’m wearing them.
Because I blended the back rise from a size 8 at center back to a size 4 at the side seam with a size 18 width, I wasn’t sure what to do about the back pockets. I didn’t put them on yet because I wanted to fit the pants right. I also didn’t know which corresponding marks to use. The size 18 would have them centered, but up too high. I didn’t know if the size 8 or 4 would be better, so I waited until they were done to check placement…and now I don’t think I want them. The front pockets are large enough to fit my massive iPhone, so maybe I won’t put them on. What do you think?
Oh I also got a new toy!! After fooling around with a stupid cheap jeans button on El Husbando’s Cargo Shorts, I invested in both good quality 17mm buttons AND a press to insert them from Gold Star Tools in downtown LA, which I visited for a little sewing retail therapy. It wasn’t the cheapest machine, I think it was actually more expensive than my first sewing machine, but definitely made this incredibly easy. Worth all $69 of its pink glory. And I really appreciate the padded handle.
View this post on Instagram
I think I might close up the buttonholes on my first pair and just add these jeans buttons to them instead.
The fabric is a lightweight blue and peach double-sided cotton remnant I picked up at Chic Fabric Remnants in Long Beach. It’s a tiny store crammed full of a seemingly random selection of fabric and thread, and nothing is labeled so I really have no idea what kind of weave this actually is. It’s not as stiff as quilting cotton or the poplin I used for the first pair. I also picked up the only 2-yard scrap they had, and that was last winter so I doubt they still have any. Regardless, it was really easy to work with though lighter weight than called for, and the jeans zipper I got at Joann’s was close enough to the blue color that I was happy about it.
View this post on Instagram
I love my Lander shorts so much. I’m so glad I stuck with this pattern until I got the fit right. Now I’m wondering if I should try the full length Lander pant. I certainly do not need any pants right now, as we’re in week 8,000 of melty hot heat in Los Angeles. And they’re blue! I actually wondered about which color side to use, but between the #sigcotm being blue and this shade being more neutral than the peach side, I went with the blue.
I cannot overstate how happy I am with these shorts. I truly feel like I unlocked some kind of sewing achievement by getting the rise down to me-size. All pants I’ve ever bought or made have had a dropped crotch and I just hate it! I feel like a wizard! IT’S THE BEST FEELING!


