This was my first go at being a pattern tester and I think I got super lucky testing what turned out to be an awesome shirt. Spoiler: I LOVED IT! *all the heart eyes!!* So much so that I made it twice. You know how much I love a good ruffle!
The pattern in question is the Franki Top, the first pattern from Australian designer Mel Cotton of The Wearable Studio. She named the pattern after her adorable schnauzer and I had the privilege of being chosen for the test phase. I didn’t waste any time going to town on it.
The Franki comes in two versions, both of which are roomy without being too boxy. From the designer:
Version 1 which has three-quarter sleeves with a pretty keyhole and tie detail as well as a ruffle on the hem. Version 2 is a simple, pared down option which is cropped at the waist with short sleeves. Both versions feature a “hi-lo” hemline.
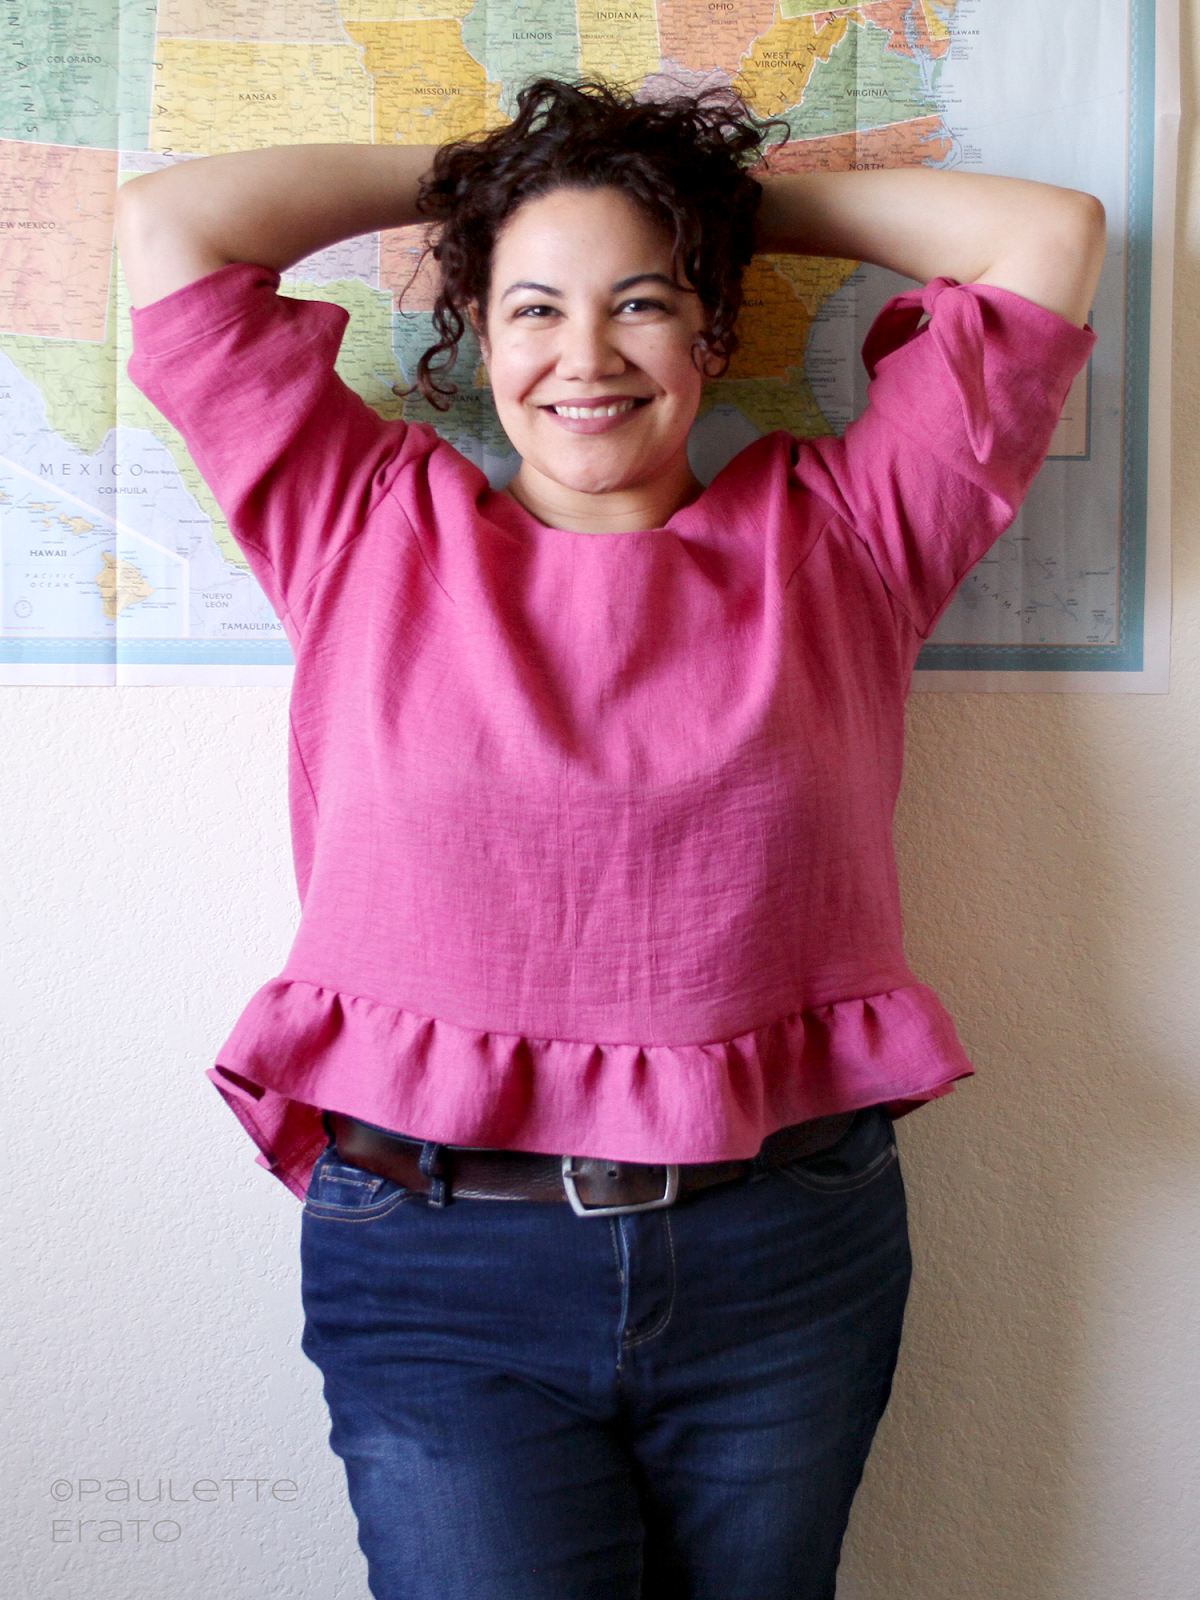
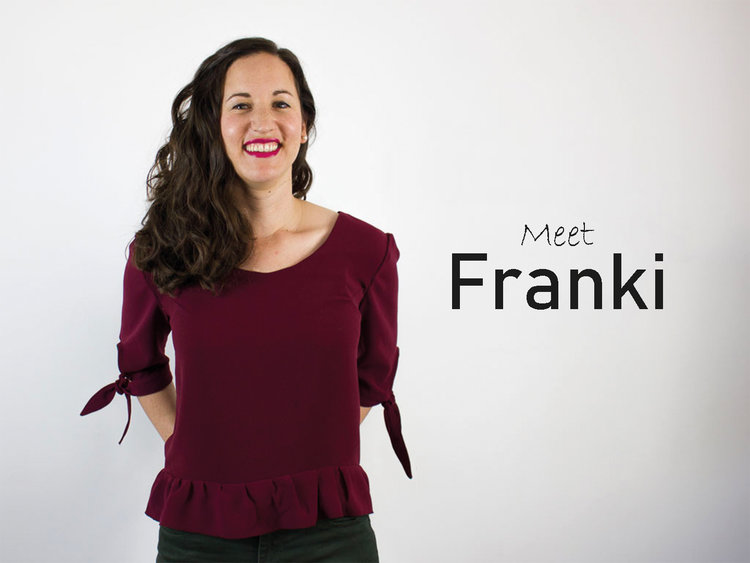
I’m usually a little wary of the uneven hemline. I don’t like a cropped shirt. But the ruffle at the bottom does make up some of the length, so no worries about showing the spare tire. As you can see, even lifting my arms up, it was plenty long enough.
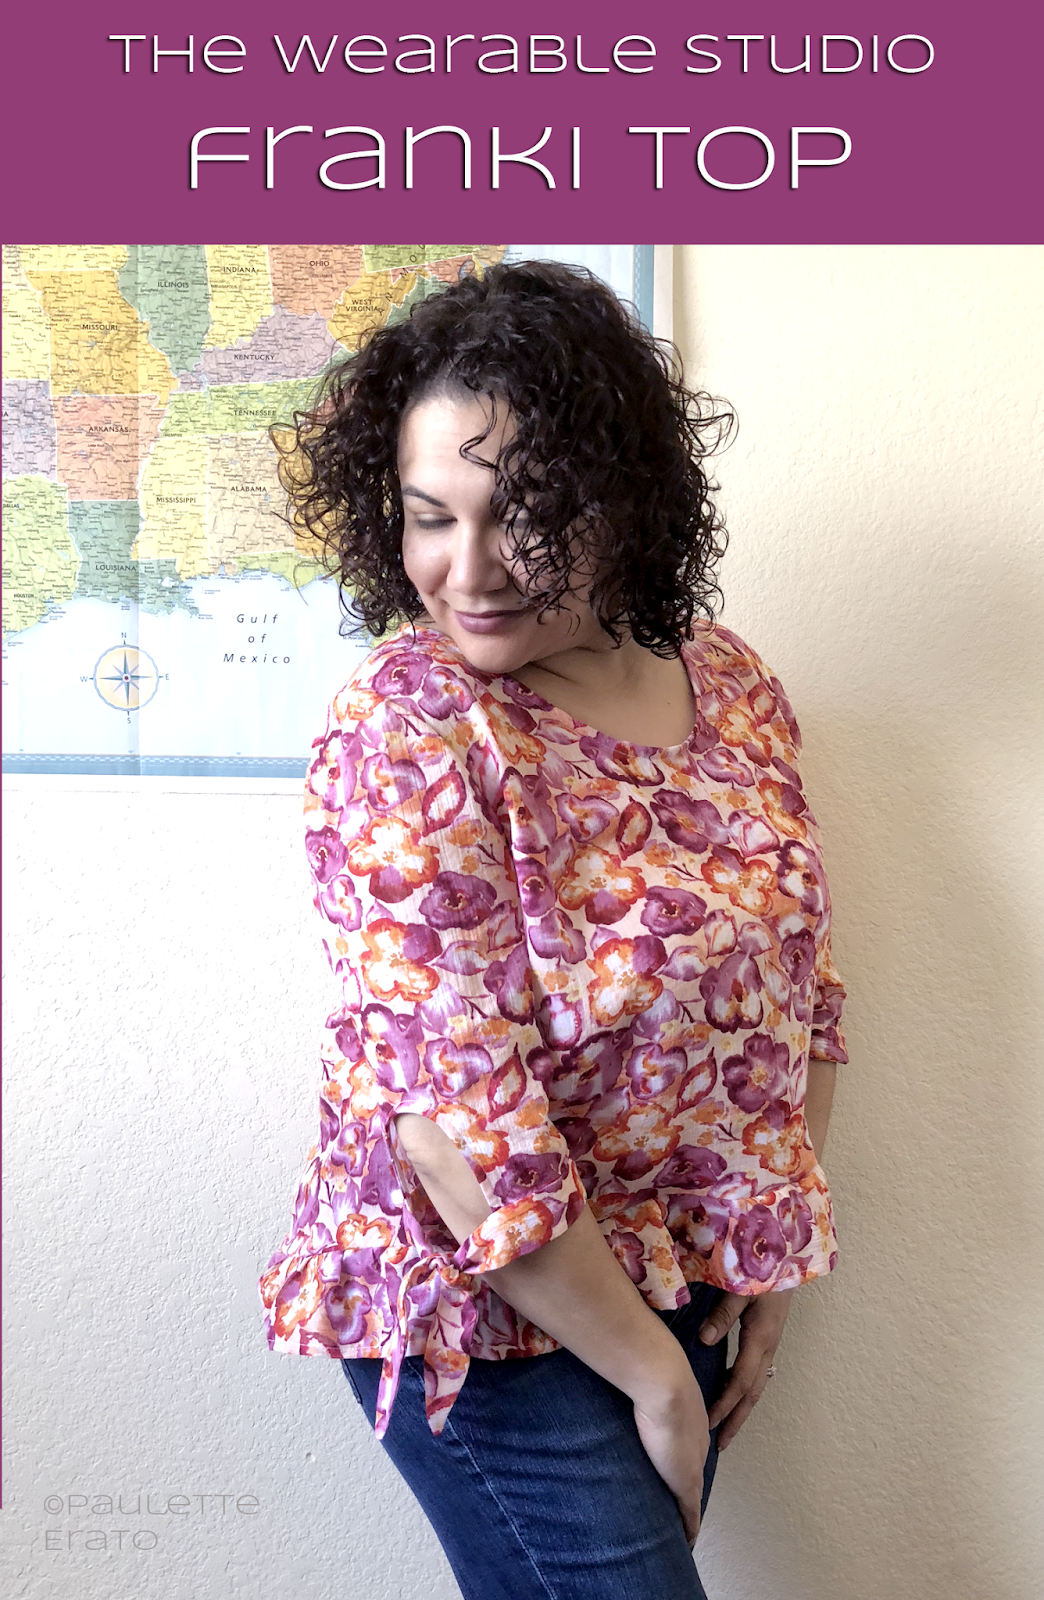
I opted for Version 1 of the Franki with the sleeve ties because I thought the ties were a cute feature. I also just so happened to have been gifted a load of fabric that week and knew immediately that a silky hot pink in that haul was the perfect match for this tester.
I don’t know the exact fiber content of the fabric, and the person who gave it to me could only remember it was a natural fiber, but it feels like washed silk so that’s how I treated it. I used matching silk thread and simply sewed myself up a beautiful piece.
The Franki is drafted for a C-cup, and offers measurements in both metric and imperial. I was exactly between the measurements for a C and D cup, and so because my bust currently measures 45″, I chose the size 18 without a bust adjustment (18 is also the largest size). I sewed a straight 18 without any changes to ensure a proper test of the pattern.
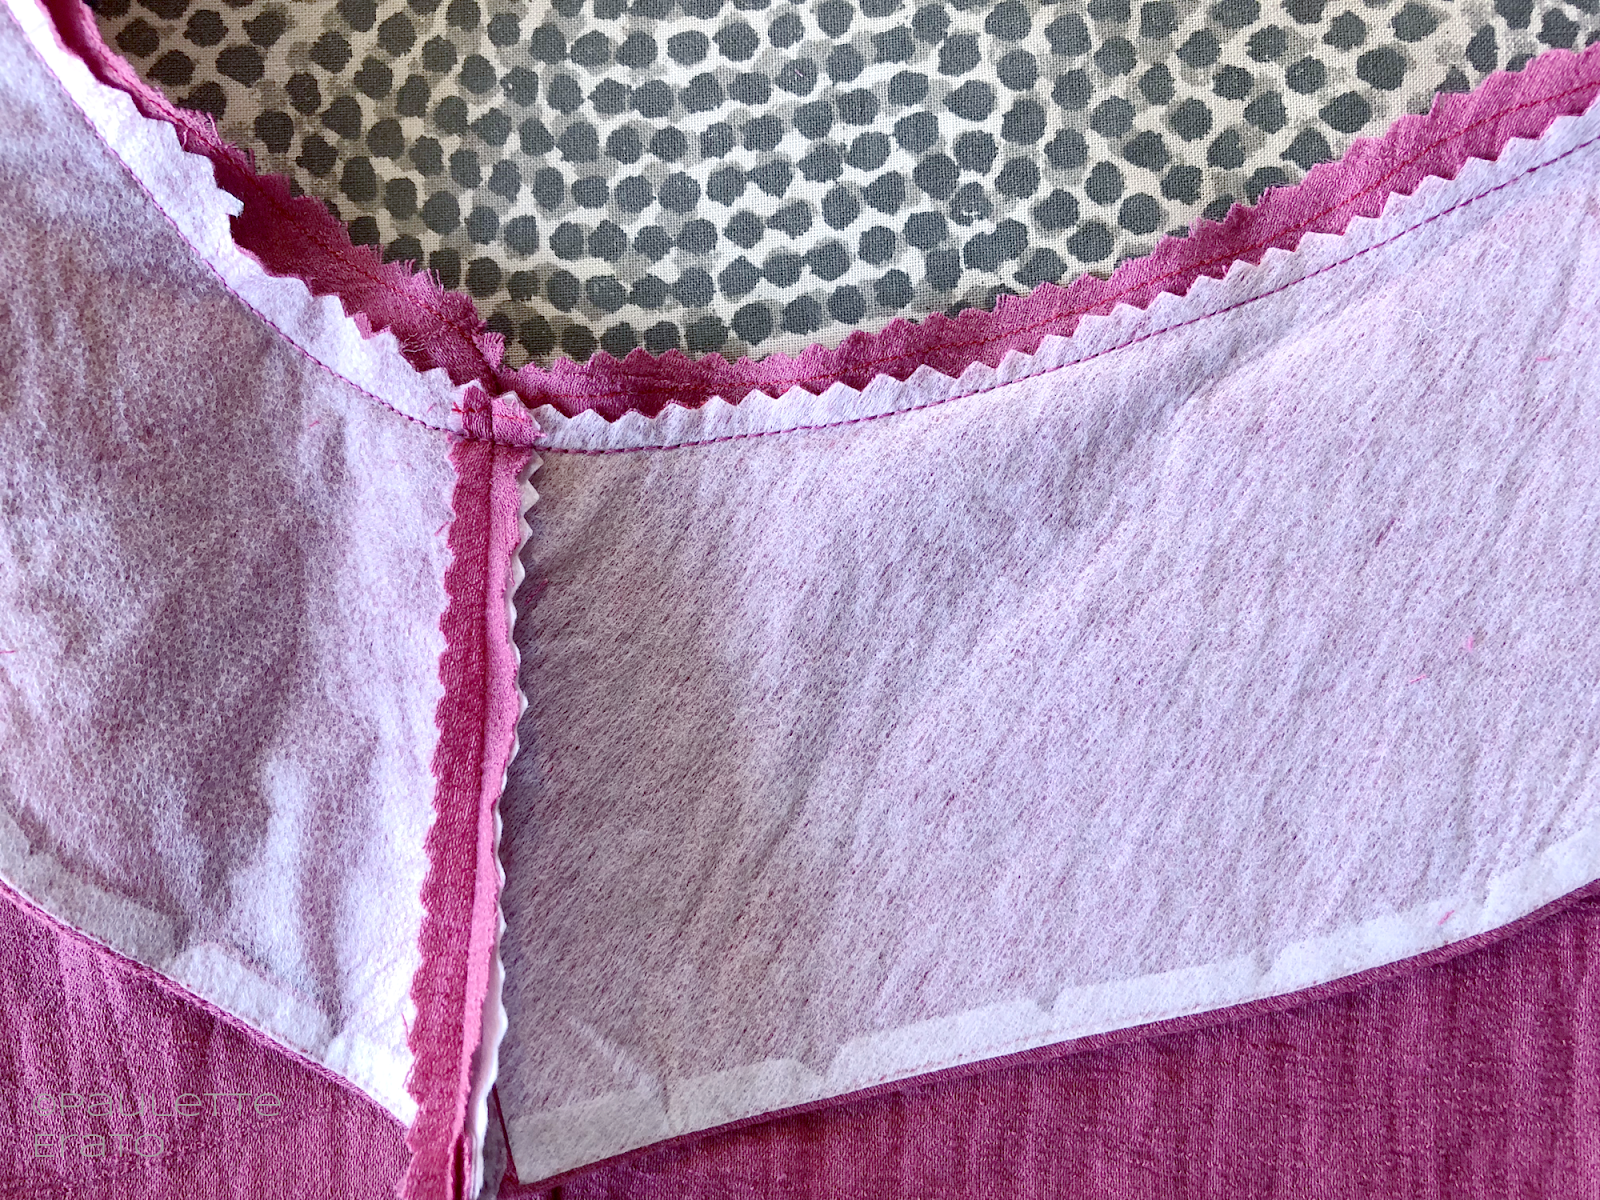
The directions are very easy to understand and include annotated photographs for every step of the process. I, however, am total rubbish at dealing with facings so they never match up properly. I’m sure it’s completely my fault that they don’t lie flat, but I did manage to finish the edges of them nicely by sewing the interfacing on and then pressing it. It leaves a perfectly finished edge.
This is the first top I’ve made where the bust dart is rotated to the armhole. I think it’s a nice change from the conventional woven blouses with side darts, and because it’s drafted for a larger cup size to begin with, also an upgrade from a typical blouse pattern.
In the end the size 18 was just a tad too roomy, so for my second Franki I made a couple of changes. For this one I used a cotton gauze instead of a silky…something…because I didn’t want 2 copies of the exact same shirt. It’s a Kathy Davis floral cotton gauze from Joann (similar to this one) that is incredibly lightweight and kind of transparent. It’s also almost too see-through but the busy floral pattern hides that fact pretty well.
This time I sized down to a 16, rotated the dart ever so slightly to match my bust point, changed out the facing for self-bias binding, and instead of edge stitching around the cuff ties, I simply hand sewed them shut.
Yes, I chose to hand sew. It’s almost like I was possessed…the fabric is so delicate that I probably should have interfaced the cuffs. But they haven’t fallen apart yet, so I’m sure they’re fine as is!
I used French seams in both makes because I like how they look on the inside of a garment. I wish I had figured out how to use my narrow hem foot BEFORE I made the purple Kenedy because I ended up just turning the ruffle hem over twice, but think it would look so much better (in both makes) if I’d used the narrow hem technique instead.
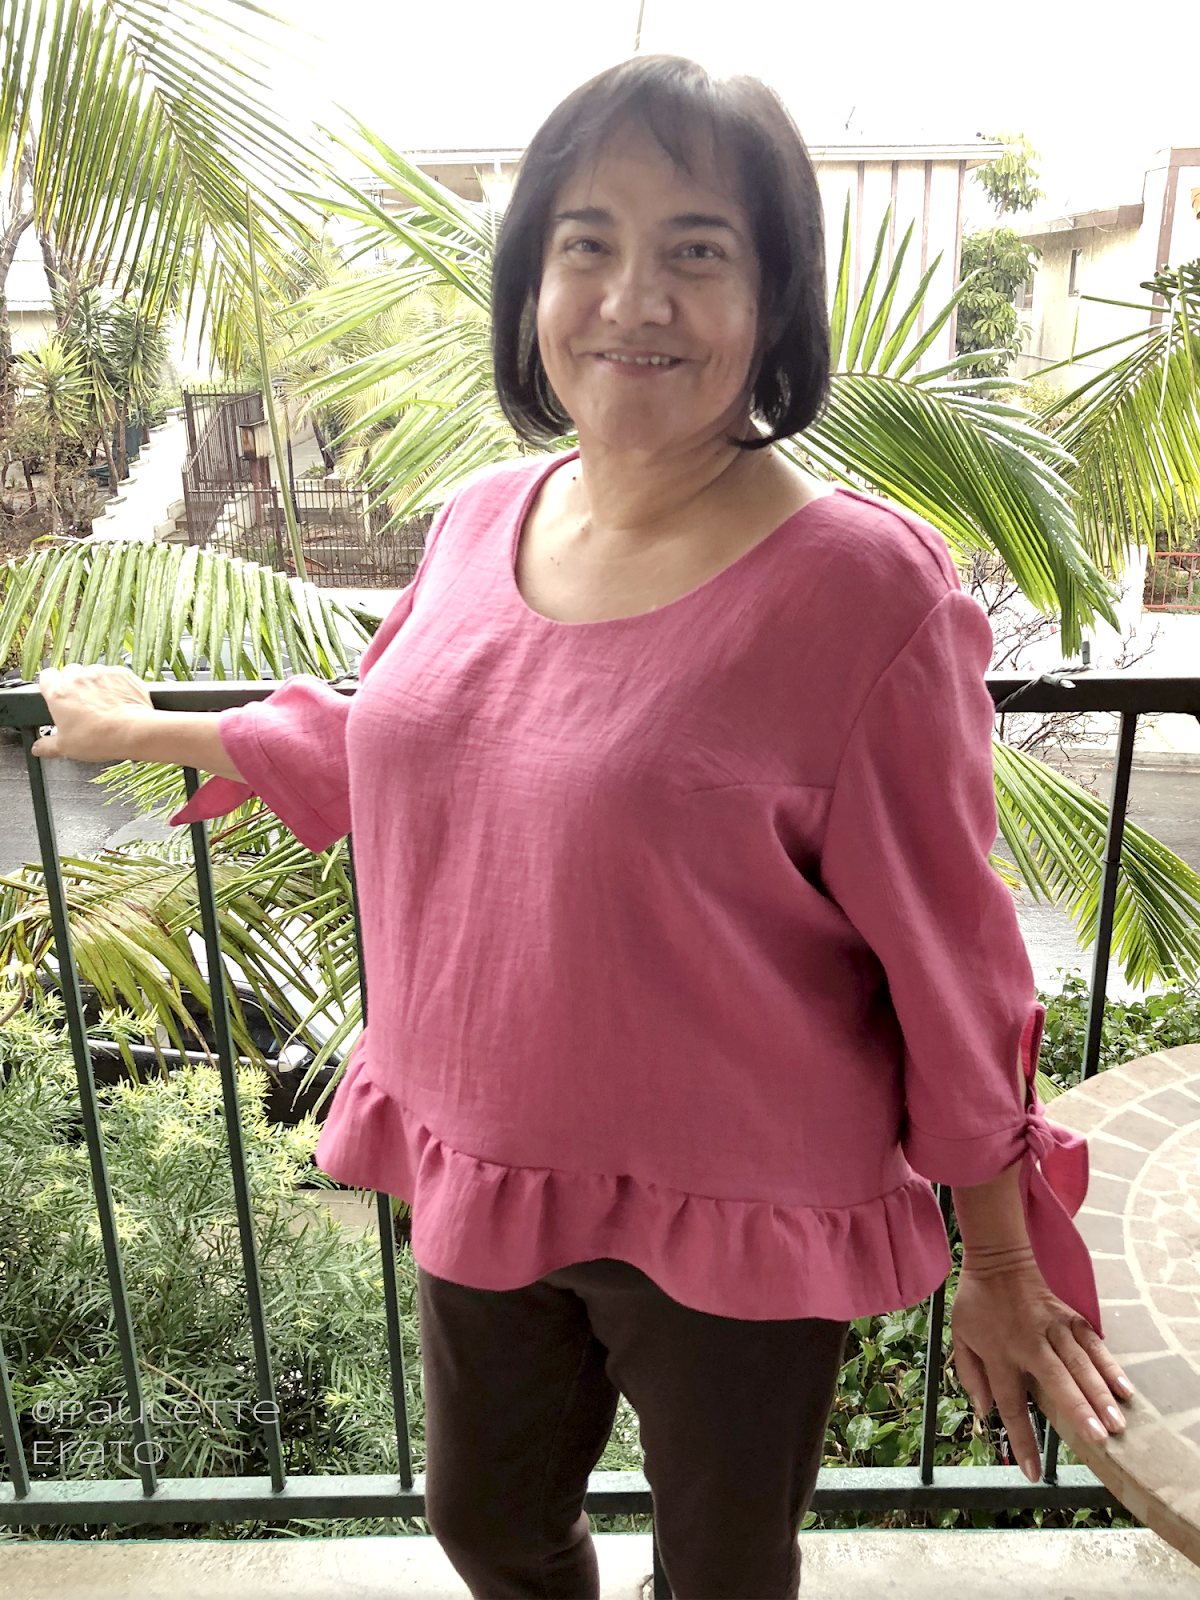
I ended up giving the pink silk-ish version to my mom, as it fit her much better than me. She looks fabulous in it!
The size 16 was a tad tight in the back, so if I were to make this again I would either give myself that 1/2″ full bust adjustment, or simply cut the size 18 for the back and ease it into the front. The difference between the two sizes is a total of about 1″ at the side seams which is exactly what the FBA would net me, so somewhere between those two options is the perfect fit for me.
I probably need to learn to do a sway back adjustment. I’m seeing a lot of pooling above my butt in my recent makes. Argh.
Regardless I’m looking forward to using this as a canvas for future pattern hacking, and also making Version 2. One of the other pattern testers, Sonja of Sewing a la Carte in the Netherlands, made a really pretty top from Version 2 but added ruffles to the short sleeves. So cute!!
I’m thinking this would look awesome with a v-neck, and even some longer ruffled sleeves, or even a large statement sleeve. How about a tunic or even a dress? There are so many possibilities and it really does live up to Mel’s mission to keep her patterns “wearable.”
You can get the pattern on The Wearable Studio website. It’s available as a PDF so you can get to yours right away!





Thanks Mel! It’s such a a great basic top that I see a few more in my future.
Love your post Paulette! I can't wait to see some of the hack versions that you mentioned. 🙂