The True Romance blouse is my first one from Pattern Emporium, but it was absolutely love at first sight when I found out about it!
First, there’s the name. I grew up in the 90s when Christian Slater was the guy all girls swooned over. His movie True Romance was filmed in my hometown (what I didn’t know as a ditzy teenager is that a shit ton of stuff is filmed in Burbank).
Then there’s the actual blouse. It comes in 2 lengths (regular and tall) and is everything I love in a top: feminine but flowy, with touched up details. Like a hem band, which I like a lot. It takes a top from potentially tenty to blousy in no time flat! There’s also an non-banded version if that’s your thing. But this pattern is all about the sleeve!
True Romance Bishop Sleeve Top
The bishop sleeve is a gorgeously classic design that has made a comeback both on the catwalk & in our favourite fashion stores.
We have have designed a simple bishop sleeve pattern with lots of options & finishes for you to sew.
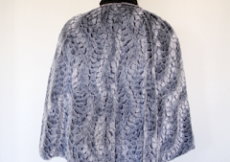
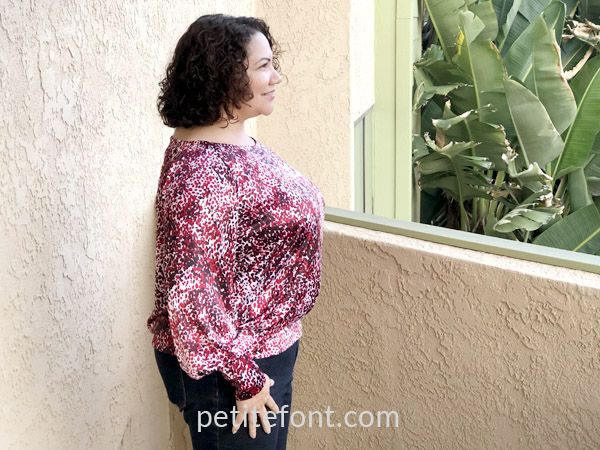
Having never made a bishop sleeve, it was all the more exciting to learn there were actually two different sleeve options (regular “subtle” bishop sleeve and “dramatic” fuller bishop sleeve) with 5 different options for finishing the hem: regular cuff, extended cuff, two different shirring options, and a simple elastic finish.
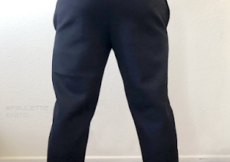
I chose the extended cuff on the subtle bishop sleeve.
Size Chart

Pattern Emporium is an Australian company, so the sizes above are slightly different than US sizing. An AUS6 is approximately equivalent to a US2, so the AUS22 is about US18 (here’s a conversion chart).
You can see in the chart above that there is a range given for upper bust and bust measurements. Because the ranges were pretty generous (technically a 4″ difference between the upper bust and bust), I didn’t bother to do a full bust adjustment. I choose the size 22.
Fabric
The recommended fabrics are:
- 4-way stretch knit fabric with fluidity & drape.
- Stretch Factor: 50-100% horizontal stretch & a minimum of 10% vertical stretch.
- Fabric Suggestions include viscose or rayon elastane jersey, modal elastane jersey, bamboo elastane jersey, double brushed poly, merino wool knit, stretch velvet (velour), poly elastane jersey, stretch lace.
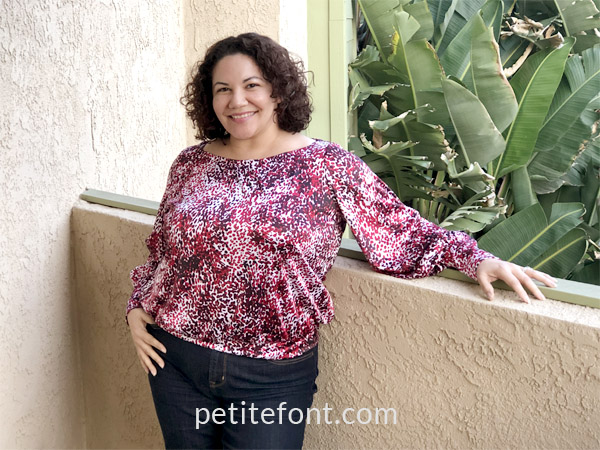
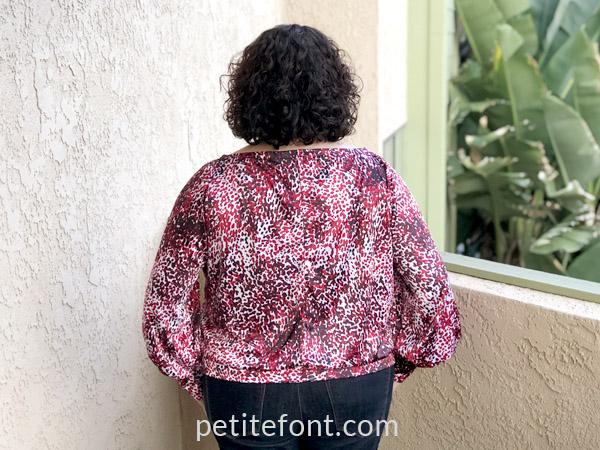
The fabric I chose is a crazy blood platelet-looking thing that cost me $1 dollar per yard at Michael Levine, but I can’t find online anymore. It’s a super slinky, fluid poly knit that was screaming for a pattern like this. It’s very loud. And screamy.
Is it a nouveau abstract leopard? Is it what blood looks like under a microscope? Who knows? It’s awesome.
PDF Criteria
I grade all PDFs on the following
- Layered sizes: yes
- Colored lines by size: yes
- No trim pattern: no
- Prints to edge of paper: yes and no
- Print layout included: yes, page 9 of the instructions
- A0 available: yes
The pattern and instructions are in 2 separate files, which I prefer. Interestingly, the pattern must be trimmed, but the left-most edge of each tile prints right up to the edge of the paper. Some of my center fronts were cut off, which wasn’t a biggie, but something you might want to be aware of.
The PDF has test squares on almost every page for consistency, which I’ve never seen before. There weren’t any side seam or shoulder notches but plenty of band notches. You were also instructed to create a notch at every folded edge (center front and center back, for example).
There are also 2 separate sleeve pieces, so if you opt for the subtle version you do not need to print out the dramatic one. There are also different bodices for the banded and non-banded bodices.
Pattern Instructions
The instructions are lovely but OMG they will eat up your ink! The 34-page booklet is really more of a magazine, with pictures of all the beautiful testers included. While this is great if you want to see the variations on a diverse range of body types, you probably do not want to print certain portions out.
Maybe you don’t print your instructions out? I do so that I can refer back to them at my machine, which is on the opposite side of the room from my computer.
The instructions are accompanied by photographs and the photos are consistently well-lit and precisely show the step being illustrated. There are separate instructions for each sleeve finish and hem variation, each with their own model and different fabric so there’s no confusing where you are in the pattern. I liked this a lot.
Throughout the instructions, there are tips if you are a beginner or suggestions for the more advanced sewist. Case in point, there is a recommendation to add the cuff in the round, which I wish I would have done. The regular instructions have the sleeve gathered, the cuff attached, then the entire sleeve and side seam finished at once. I’ve never finished a cuffed sleeve that way, and you risk the seam peeking out from the edge of the cuff. Next time I will do this differently.
I learned a new trick, though! The hem band is folded in half twice (so in quarters) and then sewn once through all 4 layers. You get a perfect circle, a hem band that’s already folded in half with the raw edges together, but only ONE seam. It’s great!
Pattern Notions
The only notions the pattern suggests depend on your sleeve finish. You’ll need 1/2″ elastic or shirring elastic if that’s how you choose to make up your sleeve.
Though it isn’t called for, I would recommend stay tape around the neckline and shoulders!
Pattern Adjustments
As I mentioned above, I didn’t do a full bust adjustment on this one. With a 4″ spread on the bust, I didn’t think it necessary. If I hadn’t added a hem band, the shirt would have been a bit short in the front (probably why there are separate bodices for each look). But the weight of the band pulls it down enough that it isn’t an issue in this fabric. It might be a different story in something else. End result: I’ll do an FBA next time.
I did not shorten this either, and that probably helped my lack of FBA. There are 3 lengths to chose from: waistband length, hip band length, and tall hip band length. I chose the middle one which gave me 3″ extra length in the front.
I did do a high round back adjustment per usual.
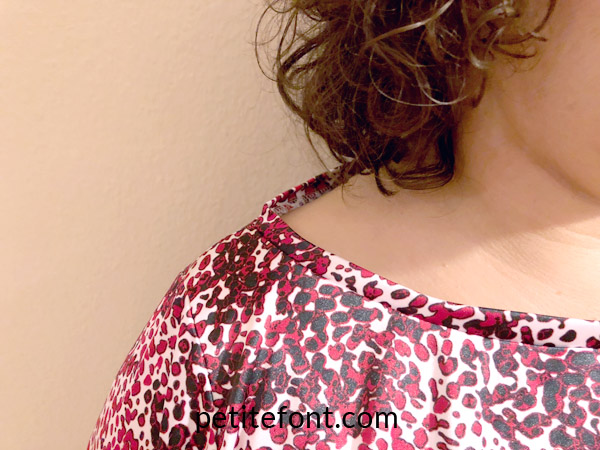
I ran into trouble with the neckband. It stood straight up when all was said and done, which means it stretched out as I was attaching it. This is a true boatneck style neckline on me (unlike the Itch to Stitch Uvita), which means a really wide neck. Instead of recutting and reattaching the band, I simply folded it over like the Uvita’s facing and it worked! That means I have an even wider neckline, but I’m fine with it.
Final Thoughts
I love the True Romance top. The pattern came out last summer, and I was dying to make it up in this fabric which was just NOT appropriate for hot LA summers. I’m glad I waited until now to make it. It’s perfect for date night, which is when I first wore it (immediately after taking these pictures—so convenient!).
PE designer Kate McAuley created a sleeveless hack, which I could have used during the summer if I’d had the right fabric. So it is year-round appropriate! There are also suggestions for mashing this pattern with a few of her others for different neckline options, turning it into a dress, or for even more sleeve variations. That’s a LOT of options for a $9 pattern.
My only challenge is that the cuffs make it a little difficult to wear a watch, so next time I’ll make the shorter cuff version.
Have you made any patterns from Pattern Emporium? Which one should I try next?