This post contains affiliate links. For more information, please see my Disclosure Policy.*
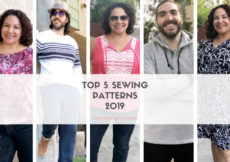
Are you still curious about M7206, the McCalls retro bowling shirt? I’ve talked about it many times:
Then you’re in luck because I just made another one—and this one is color blocked! I posted about it on the all new Minerva website, but let me dive a little deeper into it here.
I’ve never done much color-blocking prior to this year. You might remember Ryan’s Game Day jersey in red, black, and white. It seems like he has a go-to color scheme!
His alma mater’s colors are red and black, so that one’s a no brainer.
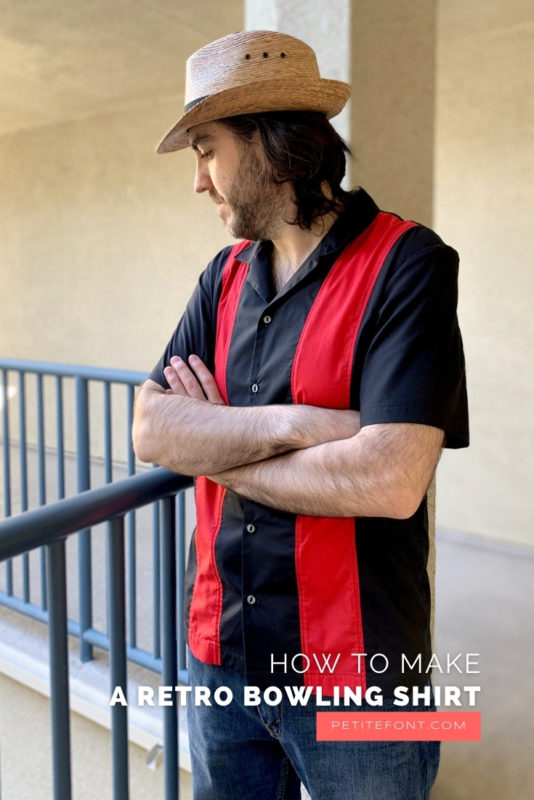
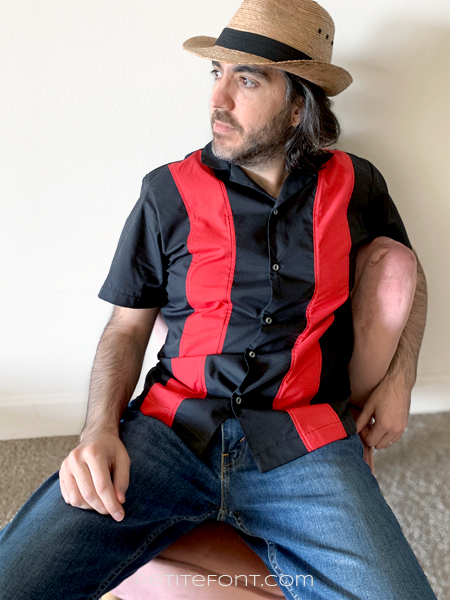
But I had the fabric in red, black, and anthracite. So we played around with a few color combinations. We finally settled on the black shirt with red contrast. It’s kind of classic.

Like a muscle car with red racing stripes. Yes, he calls them his racing stripes. He’s hilarious.
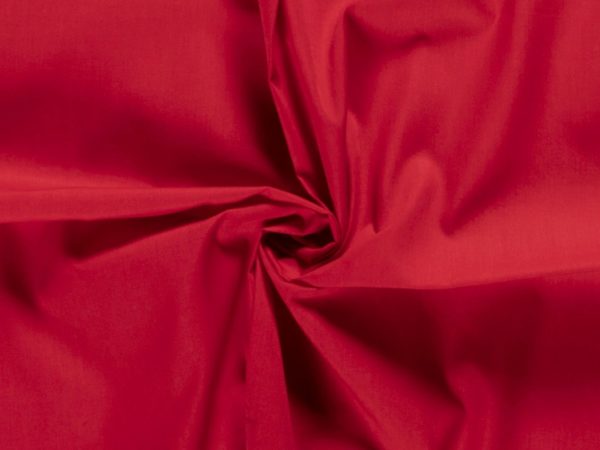
The fabric in question is the Minerva poly-cotton poplin. I’d originally bought it to make us both shorts this summer. Hence the 3 colorways. But when they arrived, it was immediately obvious that none of them were suitable as bottom weight fabric.
Turning lemons into margaritas meant Ryan got more shirts! And why not start with M7206 again, since I can practically make it in my sleep now?
Here’s a close up of the fabrics directly from Minerva’s shop:

I’ve mentioned the construction and referred to Norris Danta Ford’s invaluable video tutorial, so what else is there to say?
How about some some tips, going chronologically through the instructions?
Tips for Making M7206 Retro Bowling Shirt
Pull out the instructions for M7206 so you can follow along. Here are some tips to add to the highlighted steps!
#1: finish the loose edge of the facing immediate after you interface it. Why not staystitch the neck now too (step #11)?
#3: after attaching the front together, might as well topstitch! Don’t do both sides of the contrast band, since you can secure the facing to it when topstitching. But might as well do the outer edge here!
#4: I’ve never had to ease stitch the back shoulder into the front shoulder. Ever. Probably because the fabric is cut on the bias so the front stretches to fit the back. Not sure if this is maker error, but after 5 times, I’m okay with that.
#6: STAYSTITCH! Do no skip this step! Might as well staystitch your facing (#11) now too if you didn’t already.
#9-10: if your fabric is stiff enough (like this Minerva poplin) you can skip step #9 (basting the collar’s raw edges together). Instead baste the collar directly to the main body (step #10). I do this at 3/8″ (1 cm) instead of 5/8″ (1.5 cm) because when you attach the facings in step #12, I don’t want to sew over the same basting. Makes it harder to pull out!
#12: the front facings are attached starting at one hem, sewing up and around the collar (watch out for your basting stitches!), then down to the other hem.
#14: the instructions have you slipstitch the facing to the shirt. But if you’re like me and hate slipstitching? Just topstitch over the curved seam from the front, securing the facing at the same time. Then you’ve already done step #20!
Here’s a peek at that part of the process. I used the edge of my walking foot as a guide and caught the facing underneath perfectly:

#15: yes, the sleeves are inserted flat!
And that’s really it. I’m going to venture to guess that this is going to land on my Top 5 list of patterns and garments for the year, again. Seems like it’s landed on there every year since I started sewing!
If you have any questions about this shirt, I’d be happy to answer them in the comments below. I’ve now made it more times than any other pattern I own!
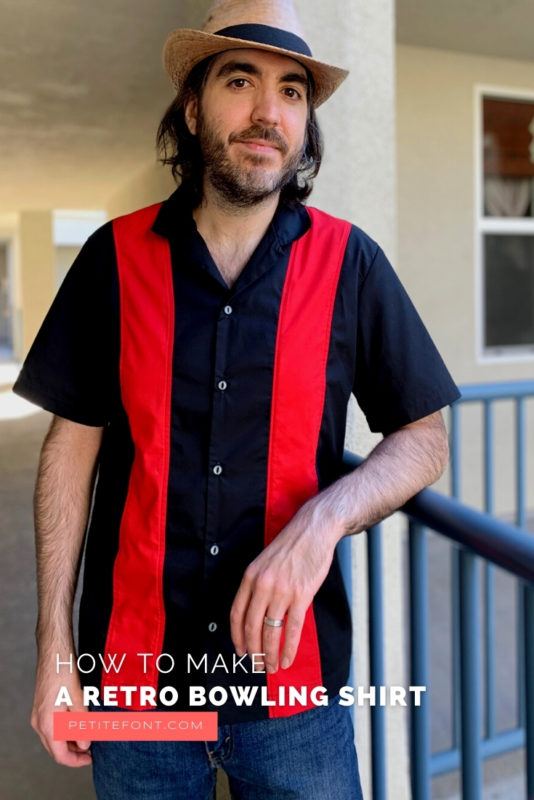
I really do love this shirt, and the guy in it!
Stay tuned to see more Minerva makes over the next few months as I catch up on projects!
Save this for later! Pin your favorite from below.